Pages

10.05.2010

COSTUMES
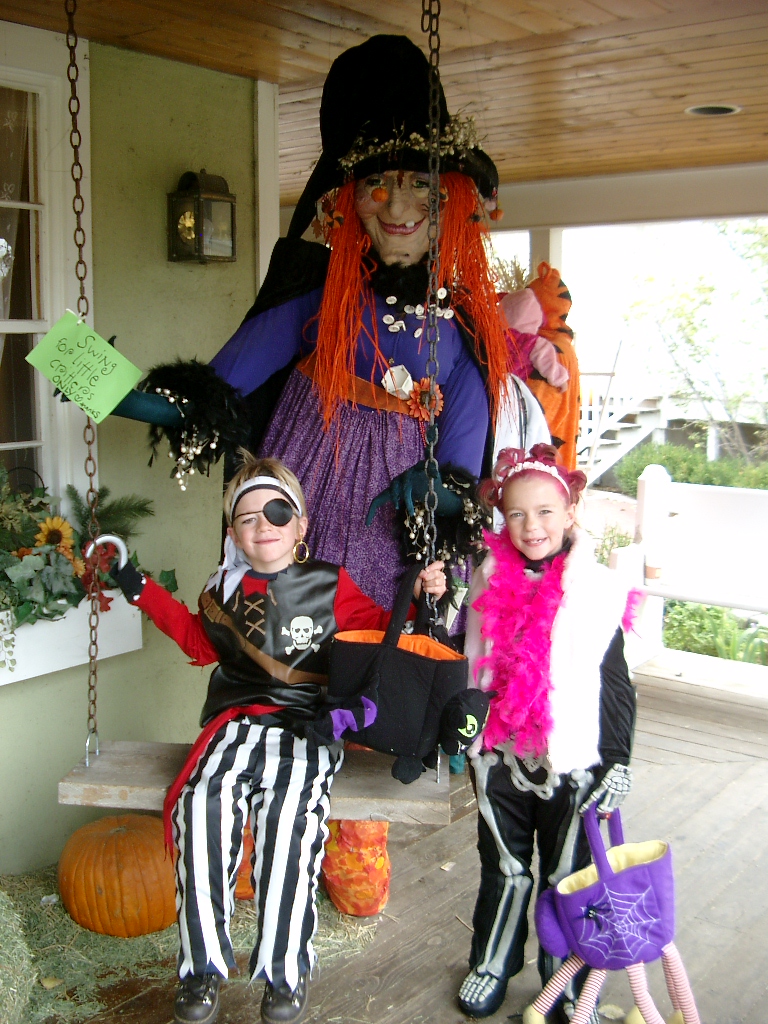
Do you remember making your very own costumes for Halloween? I sure do & I loved it.. I have finally convinced the twins that making their costumes is much more fun that buying them from a store. 
This year we are hoping our imaginations will carry us far..
 It has become quite scary when my closet is where most of the Halloween Costumes are born..
I have found some great examples of easy, but elegant costumes that you could make with a little tulle, hot glue gun, hair spray, face paint & and load of Self Confidence..
~WITCH with style~
~Bubble Wrap JELLY FISH~
This would also go well at a Lady Ga-Ga concert..
~The Friendly GHOST or Awkward Bride~
~LEG CRAWLER~
~GLAMPIRE~
                                                   ~VAMPIRE~
~BeekEePeR~
~MUmmY~
                                                    ~MEdUSA~

~GOLdEN GODdEsS~
~BiRD Nest~   Love it!!
~SpIdEr WeB~
                                      ~GARBAGE Bag WiTcH~
~FeAThErEd RaViN~
~GrAy GhOst~
                                          ~EQUESTRIENNE~
~Glammie~
Most of these Costumes can me found on Martha Stewart with instructions on how to make them yourself .  Add your own Flair & OWN IT..

 
HAPPY HAUNTING

9.28.2010

What a nice set of BONES..
   ~ Family Home Evening Fun ~
Make yourself a display of Bones..
Thank you Martha 4 the charming idea.
~Love the idea of displaying in a Cloche~
2 cute, right?? I totally think so.. This project is so dang easy & the best part about it is, you get to use SPARKLES & Glitter..
What you will need:
Skull & Bones, Fingers & Toes
Glitter (your favorite colors)
News Paper
Paint Brush
Glue
Large shallow Bowl or Tray
Kiddies that want to get spark-a-tized
What 2 do next:
1. Working over newspaper, use a brush to apply glue on Skull & Bones.
2. Hold Skull/Bones over a large shallow bowl or tray.
3. Spoon ultra fine Glitter over glued surface, making certain the glitter falls into all the crevices and sockets.
4.  Place on a tray; let dry for at least an hour.
5. Tap or brush off any excess glitter. Repeat gluing & glittering process on uncoated surface of each piece until your desired look.

This little treat would look fabulous on a little end-table or as a Grand center piece in your dinning area..

9.24.2010

~HALLOWEEN~
It's that time to get those fun Fall/Halloween decorations out & enjoy in some fun with the kiddies.. I love decorating for Halloween almost as much as decorating for Christmas.. This year as I pulled bin after bin out of the attic, I realized I have a thing for Witches.. Here are some of my broom flying girls.
This witch-ie poo has a set of TWINS if you look close. She also has some pretty narly real looking teeth.. Oh ya, & look at her sporting my "mood ring" from the 80's..
Gotta love that Cute little Pumpkin Spider..


Witchie Poo's R taking over this year..
even a  Pumpkin BAT

"If the Broom Fits, Fly it"
Throw a few Pumpkins in the mix & we are counting down 2 Hallo's Eve.
 Here are a few pictures of Halloween Past....
 
 
                     xoxo


9.10.2010

Funk - A- Tized

I have had these POTS 4-ever.. I got them years ago when I was into pottery & such.. They are HUGE & HEAVY & cost me a pretty penny back in the day.. They have been kicking around with really no place 2 go.. I decided to splash a little paint their way...

Oh ya, they are growing on me now...
They are now sitting on my front porch, thought it was a great time with Halloween just around the corner... :)


Cheers !!!
C O L O R
Ohhh my Goodness, have I ever been on a Painting, Glazing "kick" this week..
It all started when Athena gave me a crazy recipe, Paint + Glaze + Flour = All Kinds of Fun.. I started off doing my cupboards in my Kitchen.. I am Done!! I LOVE the results!! Still searching for just the right "Pulls", once I find them I will share the finished Yummie-ness of the Kitchen..
My Story begins like this.. I was waiting for Brent to come & pull out all my appliances so I could finish with the Kitchen  Cupboard. I got a little impatient waiting for him, while having a cup of paint & a paint brush in hand I walked into the adjoining room and started applying paint to another piece of furniture.. Ohhhh Geeezzzz, that is all it took.. I was hooked once again !!
Picture below is the back, I started painting before I took the pic. The color is a ugly off white-ish yuk**

A few months ago I bought this Awesome Hall Tree piece that I am going to convert into a single VANITY of my very own. I have plans of adding a funky Sink & Mirror. So until I get to that project it has been resting in another room just waiting it's turn.. Well "it's" turn came a little sooner than I thought.. (still waiting 4 Brent) I added my Red Paint, Flour & Glaze mixture.
 then.... The Magic & my new Love...
 GLAZE
Picture below shows...
UPPER section after Glaze is applied & worked in.
LOWER section shows what Glaze looks like before you work it into the furniture..
before
                          after             
         ~  Add more Red for more Drama ~
                                      
                                         more Glaze
Taaaaaaa - Daaaaaaaa

~Don't you think this will look just Pur-ty in the cabin, on my very own side of the bathroom~